Given by:
Preceded by:
Followed by:
Released:
March 10, 2012
Rewards
2976 
2598 
Plus one of the following:
Summary
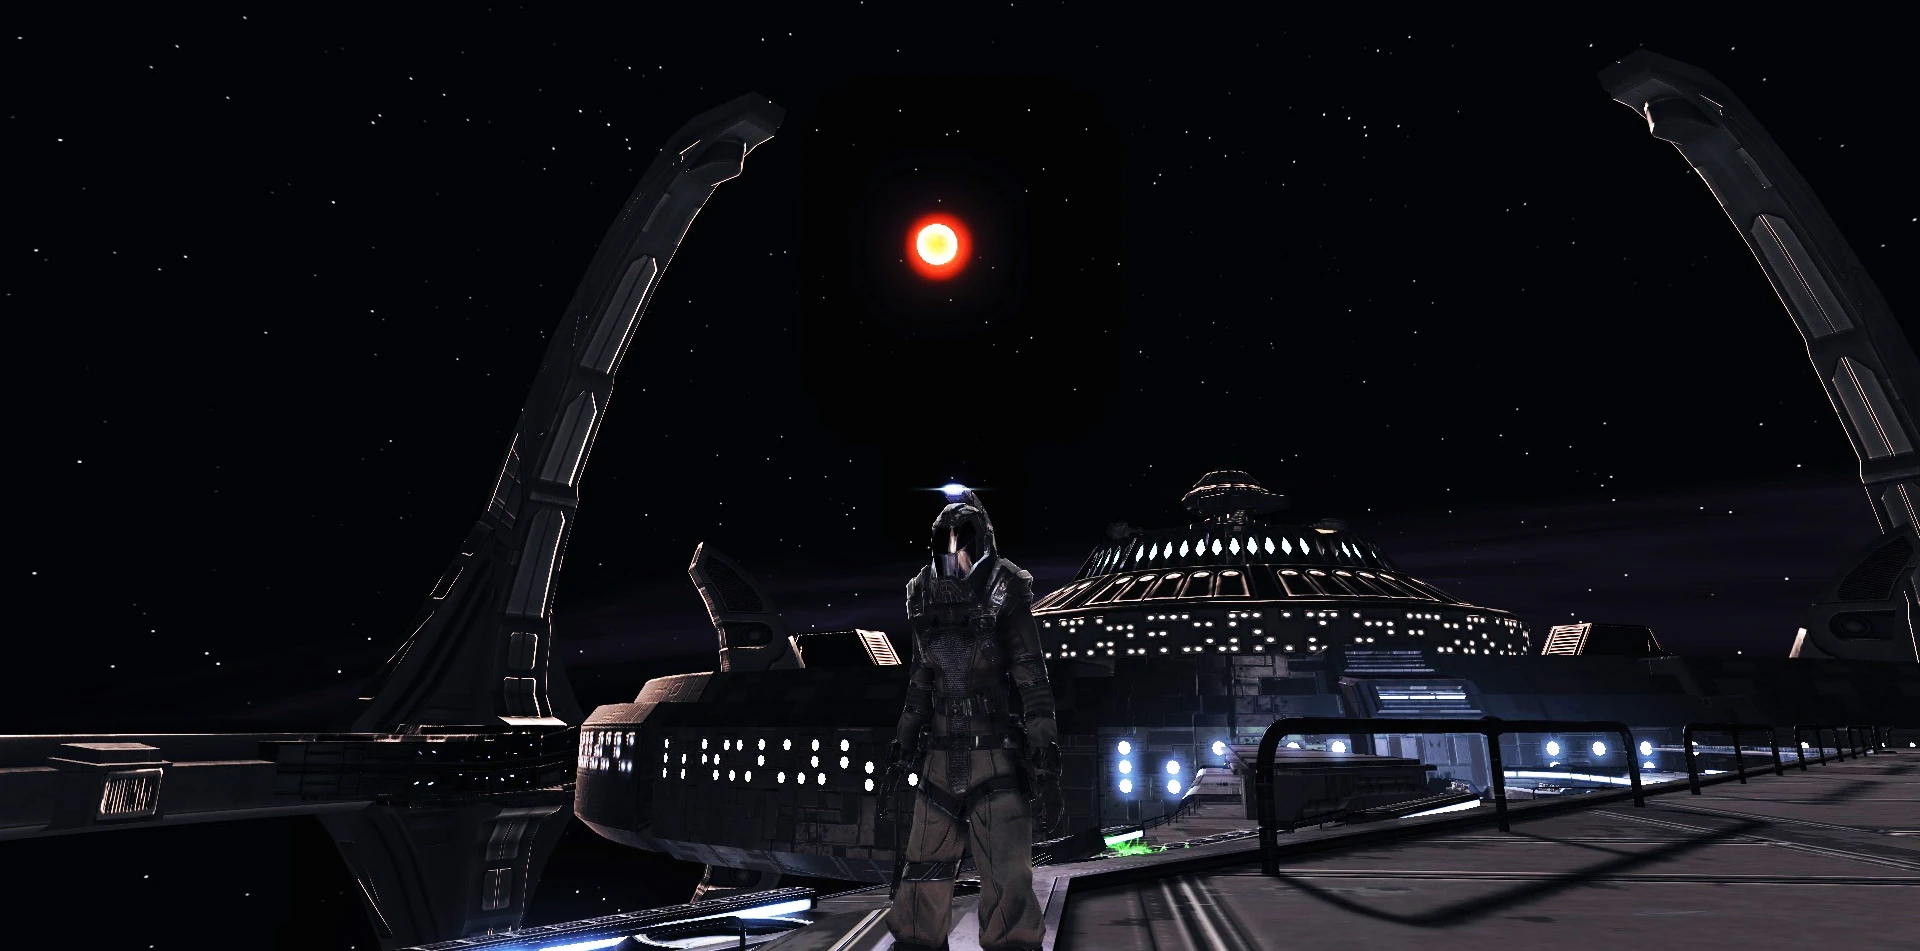
On the hull of Deep Space 9
Brave the vacuum of space and Kar'ukan's forces to save DS9.
Synopsis
Outline
- Bodly They Rode
- Voice of the gods
- Speak with the Vorta, Eraun
- Hail Deep Space 9
- Strategize with the Founder
- Take an Environment Suit
- Activate Your Environment Suit
- Exit the Airlock
- Black Ops
- Traverse the Crossover
- Activate maintenance Safety Posts
- Use Reaction Thrusters to Jump to the Crossover
- Jump from Post to Post Along the Crossover
- Go to Sensor maintenance Panel
- Reroute External Sensors
- Keep moving along the Maintenance Posts
- Head Around the crashed Ship
- Jump!
- Jump Back Down to the Station
- Cross the Power Junctions
- Use the Control Junction to the Right
- Mind the Gap
- Jump to the Promenade
- Override the Security Systems
- Enter the Promenade
- Intruder
- Cross the Exchange to the Promenade
- Reach the Ops Turbolift
- Use Force Field Controls to Defenestrate Jem'Hadar (Optional)
- Trigger Traped Environmental Controls (Optional)
- Find Useful Supplies (Optional)
- Confront Kar'ukan
- Beam Up and Pursue Kar'ukan
- Fight of Angels
- Engage Kar'ukan's Forces
- Finish the remaining Jem'Hadar Ships
- Beam down to Deep Space 9
- Honor the Charge
- Talk to James Kurland in DS9's Ops
- Hail the Enterprise from Ops on DS9 (Optional)
- Hail the Dominion from Ops on DS9 (Optional)
- Voice of the gods
Mission Text
Federation
Now that we have the aid of one of the Founders, we should have no trouble convincing the Jem'Hadar at Deep Space 9 to stand down and return to the Gamma Quadrant. Starfleet and the Klingon Empire are assembling a unified fleet to garrison the station and repair the damage from the battle. We want you to go with the Founder to negotiate the surrender of the remaining Jem'Hadar.
Rendezvous with a Jem'Hadar ship near Deep Space 9. You'll represent the interests of the Alpha Quadrent, but this should be a simple formality.
Captain Kurland is headed to Deep Space 9 in the Defiant, along with the rest of the task force. Oh, he said to tell you that he's looking forward to seeing you on the station again.
Goal
Head to Deep Space 9 to rendezvous with a Dominion ship.
Deep Space 9 is located in the Bajor Sector of the Beta Ursae Sector Block.
Walkthrough
- For a walkthrough of this mission, visit the Walkthrough page.
NPCs
Enemies
Dominion
- Jem'Hadar Soldier
- Jem'Hadar Demolitionist
- Jem'Hadar Veteran
- Jem'Hadar Assault Officer
- Kar'ukan
- Loriss
NPC starships
Allies
Federation
 Federation Frigate
 Federation Science Vessel
- Federation Cruiser
- Federation Escort
- U.S.S. Defiant
- U.S.S. Enterprise
Klingon
Dominion
Enemies
Dominion
Notes
- This is the first mission in Star Trek Online to feature the use of Environmental Suits.
- The combinations for rerouting external sensors are randomly generated. You'll have to visit the two nearby panels to discover the correct sequence and then remember or write it down. You have to note the name of the sensor as well as the position or letter along the top to be able to solve this puzzle.
- During the mission there is a puzzle similar to the Defera invasion temple easy puzzle. Solution is to: Rotate the top row then Drop the 1st column then rotate the top row.
- The mission name is taken from the poem "The Charge of the Light Brigade". The third stanza, which contains the line "Boldly they rode and well", was recited by Miles O'Brien and Julian Bashir in the DS9 episode "Sacrifice of Angels", which also features the retaking of Deep Space Nine from a Dominion fleet, and in which the 2800 fleet is visible in the Bajoran Wormhole.
- When you reach the "Honor the Charge" portion of the mission, talk to Kurland last, as talking to him removes the options to hail the Enterprise or the Dominion.
Hidden Lobi Crystal
- Candles. Located in the temple of DS9, opposite to Quark's Bar (only during specific re-runs).
Bugs
- Before starting this mission, when you are in the airlock where you get your EV suit, select the EV suit that you got from the mining asteroid. I found using this suit activated the hatch once you override the security system, instead of using a EV suit from the airlock, thus allowing you to complete the mission. Doing the below will not proceed the mission.
- The Black Ops stage may break between "Override the Security Systems" and "Enter the Promenade". After having interacted with the panel in the wall to open the airlock, the mission objectives may just disappear, and the object that is supposed to be the airlock through which you enter the promenade never gets activated. Using the "return" options doesn't fix this, all you can do is beam out which should force the Black Ops part to restart from the beginning. Another alternative that has worked is to Exit the game, and immediately re-enter. It starts you outside, where you left, and has activated the portal allowing entry into the promenade.
- You can enter the (fake) promenade in an unintended way. To the right of the panel which opens the airlock at the end of Black Ops, there's a slanted piece of geometry on which you can walk up to the wall in which the panel is located. Then you can continue towards the forcefield covering the ripped open hull section and after a short while you'll drop through the hull into the station interior mockup where you can walk around and get fired upon by the jem'hadar. This, of course, is not the actual promenade, and you'll have to use any of the "return" options to get out of this area and enter the actual promenade.
- If you log out / disconnect during the Black Ops section, you will relog at the edge of the station model at a location from where your only option is to jump down into "space". You'll land on an invisible surface then can run around freely under the station model.
- When fighting Karukan in Ops, the mission may glitch when he shrouds. He may never reappear.
- The first two issues have been present and reported back when the episode originally premiered, and apparently still haven't been fixed as of March 2013.
Accolades
| Icon | Name | Description | How to Get | Points |
|---|---|---|---|---|
| Alert Intruder | Used all optional intrusion techniques while infiltrating the promenade of Deep Space 9 | Use the environmental panel on the lower level of the promenade, examine the supplies in a shop stall past where that panel just created a fire, and use the shield control panel on the upper level of the promenade just outside the turbolift. | 10 |
Storyline Missions
| ||||||||||||||||||||||||||||||||||||||||||||||||||||||||||||||||||||||||||||||||||||||||||||||||||||||||||||||||
|---|---|---|---|---|---|---|---|---|---|---|---|---|---|---|---|---|---|---|---|---|---|---|---|---|---|---|---|---|---|---|---|---|---|---|---|---|---|---|---|---|---|---|---|---|---|---|---|---|---|---|---|---|---|---|---|---|---|---|---|---|---|---|---|---|---|---|---|---|---|---|---|---|---|---|---|---|---|---|---|---|---|---|---|---|---|---|---|---|---|---|---|---|---|---|---|---|---|---|---|---|---|---|---|---|---|---|---|---|---|---|---|---|
| ||||||||||||||||||||||||||||||||||||||||||||||||||||||||||||||||||||||||||||||||||||||||||||||||||||||||||||||||